
How to make a fashion wrap!
The current rave of this season is arguably the fashion wraps, they are in every high street store and have taken a twist on the traditional poncho.
The current rave of this season is arguably the fashion wraps, they are in every high street store and have taken a twist on the traditional poncho.
However what you maybe thinking as I was is that they are expensive even in some of the 'cheaper' stores
but in my post for you this week I am going to show you how you can make one for less than half the store prices.
You will need:
150cm X 150xm of fabric of your choice
either a sewing kit i.e. thread and a needle/ sewing machine or you a can use a fabric glue
Fabric scissors
Pins
Pins
Step 1
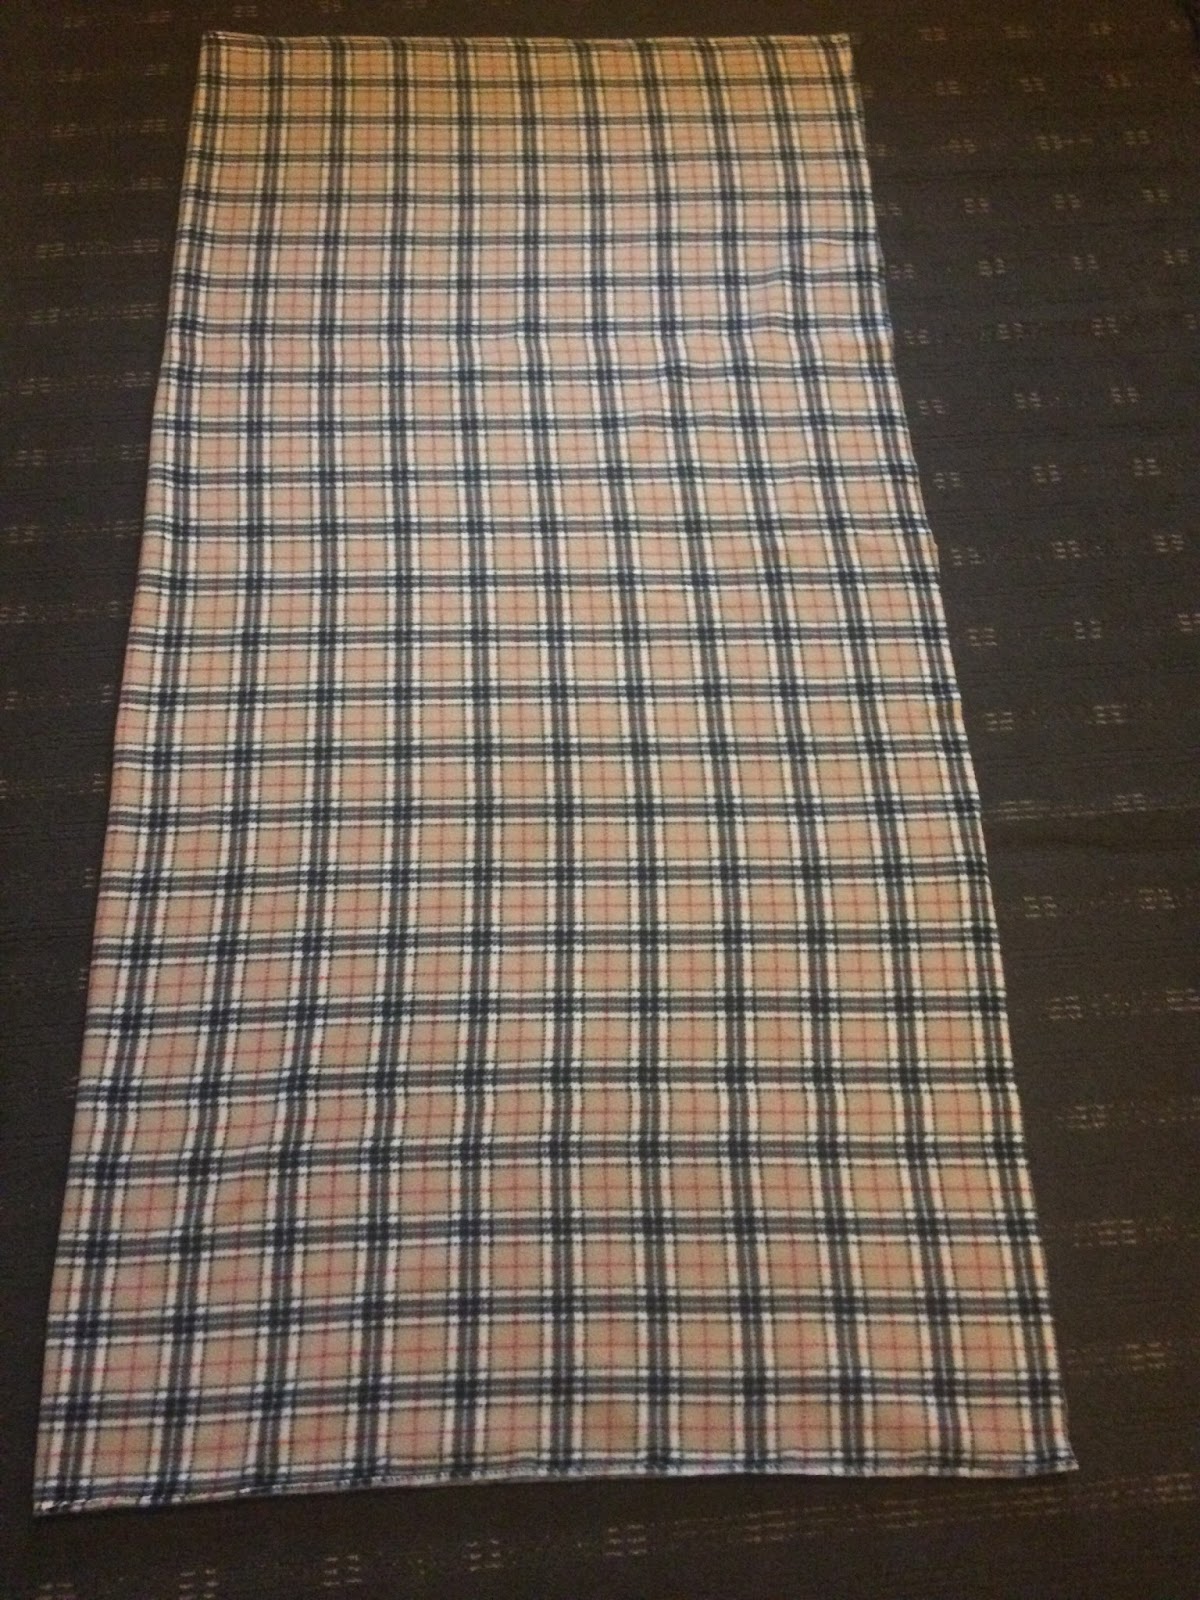
You will need buy 150cm x 150cm of fabric of your choice you can either look for some on ebay, online, local markets or your local fabric/craft shop.
 I bought this from my local market (for £5 a meter) and I got a beige tartan colour, as the tartan print, is the main print for the trend. However there is lots of different patterns you try to get your own unique wrap. This one I got is quite a thick fleece fabric as this will be wearable even when it gets in to the more colder winter months.

Step 2:
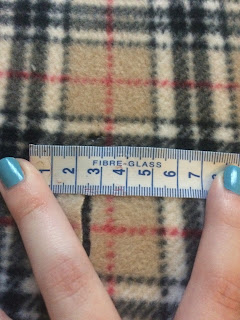
 You now need to fold your fabric in half and you need to get your tape measure out (or you can just use your rule if you don't have a tape measure) and measure 80.5 cm up the fold of the fabric.


Once you have marked at 80.5cm, you will then need to get your scissors, and make a cut of no more than 1cm into the fabric.
Step 3:
This is the step which is going to start making your fabric look like more like a wrap. You will need to open up you fabric and mark a line down to the bottom and then cut as accurately a straight line as you can to the 1cm cut in the center, don't worry though because it will neaten up further along.

 Step 5: Flip over your fabric if you need to so that it is on the wrong side (so it's on the side you wouldn't wear). You then need fold the two flaps inwards, you will then have made by cutting the down the middle and the top. Next pin the fabric to hold in place.


This is the glue which I use sometime but there is lots of different ones you can get.

I decided to sew mine on my sewing machine if you have a machine I would recommend leaving between 0.5cm-1cm allowance on a straight stitch.


Step 2:
 You now need to fold your fabric in half and you need to get your tape measure out (or you can just use your rule if you don't have a tape measure) and measure 80.5 cm up the fold of the fabric.

Once you have marked at 80.5cm, you will then need to get your scissors, and make a cut of no more than 1cm into the fabric.
Step 3:
This is the step which is going to start making your fabric look like more like a wrap. You will need to open up you fabric and mark a line down to the bottom and then cut as accurately a straight line as you can to the 1cm cut in the center, don't worry though because it will neaten up further along.

Step 4:
Once you have cut the line through the middle, at the top you will have 1cm cut across the top, which you cut earlier. You will then need to the measure 5cm across (where you cut the 1cm) with 2.5cm at the middle where the middle slit is.

 Step 5: Flip over your fabric if you need to so that it is on the wrong side (so it's on the side you wouldn't wear). You then need fold the two flaps inwards, you will then have made by cutting the down the middle and the top. Next pin the fabric to hold in place.
You will know that you have pined it correctly when the print matches up, like the picture on the right.
Step 6:
The folds you have made now need either gluing or sewing together to hold it permanently. This step is completely up to you, you can use fabric glue or sew it up, only remove the pins as you go, so, you don't have everything unfold.

This is the glue which I use sometime but there is lots of different ones you can get.

I decided to sew mine on my sewing machine if you have a machine I would recommend leaving between 0.5cm-1cm allowance on a straight stitch.
Step 7:
Once you have joined the fabric your wrap will be almost ready to wear.
All you need to do now is to trim the sides to your size, I took 18cm off the right side (when flat) and 11cm off the left side.
This was the perfect fit for me, I wear a UK 12 (US 8) but if you want it bigger then maybe only take slightly less off and more if you want it a smaller fit.

Once you have finished all the steps you will be ready to wear it and amaze all your friends when you tell them you made it.
You can also customize it to make it unique to you maybe with some buttons or even tassels on the end and this will create a one of kind look that you won't see every other person wearing.
♥
Until Next Time
Cera
♥
No comments:
Post a Comment